How to Make Deck Boards: A Step-by-
Building a deck can be an exciting and rewarding project, but selecting the right materials and ensuring proper construction is essential for longevity and aesthetics. One key element of deck construction is choosing and installing the deck boards. Whether you’re a DIY enthusiast or a professional builder, understanding how to make deck boards will help you achieve a strong, durable, and beautiful deck.
Understanding Deck Boards
Deck boards are the horizontal planks that form the surface of the deck, providing both functionality and style. The two main types of deck boards are:
- Wood Deck Boards: Traditional and popular, wood boards come in various types, such as cedar, redwood, pressure-treated pine, or tropical hardwoods.
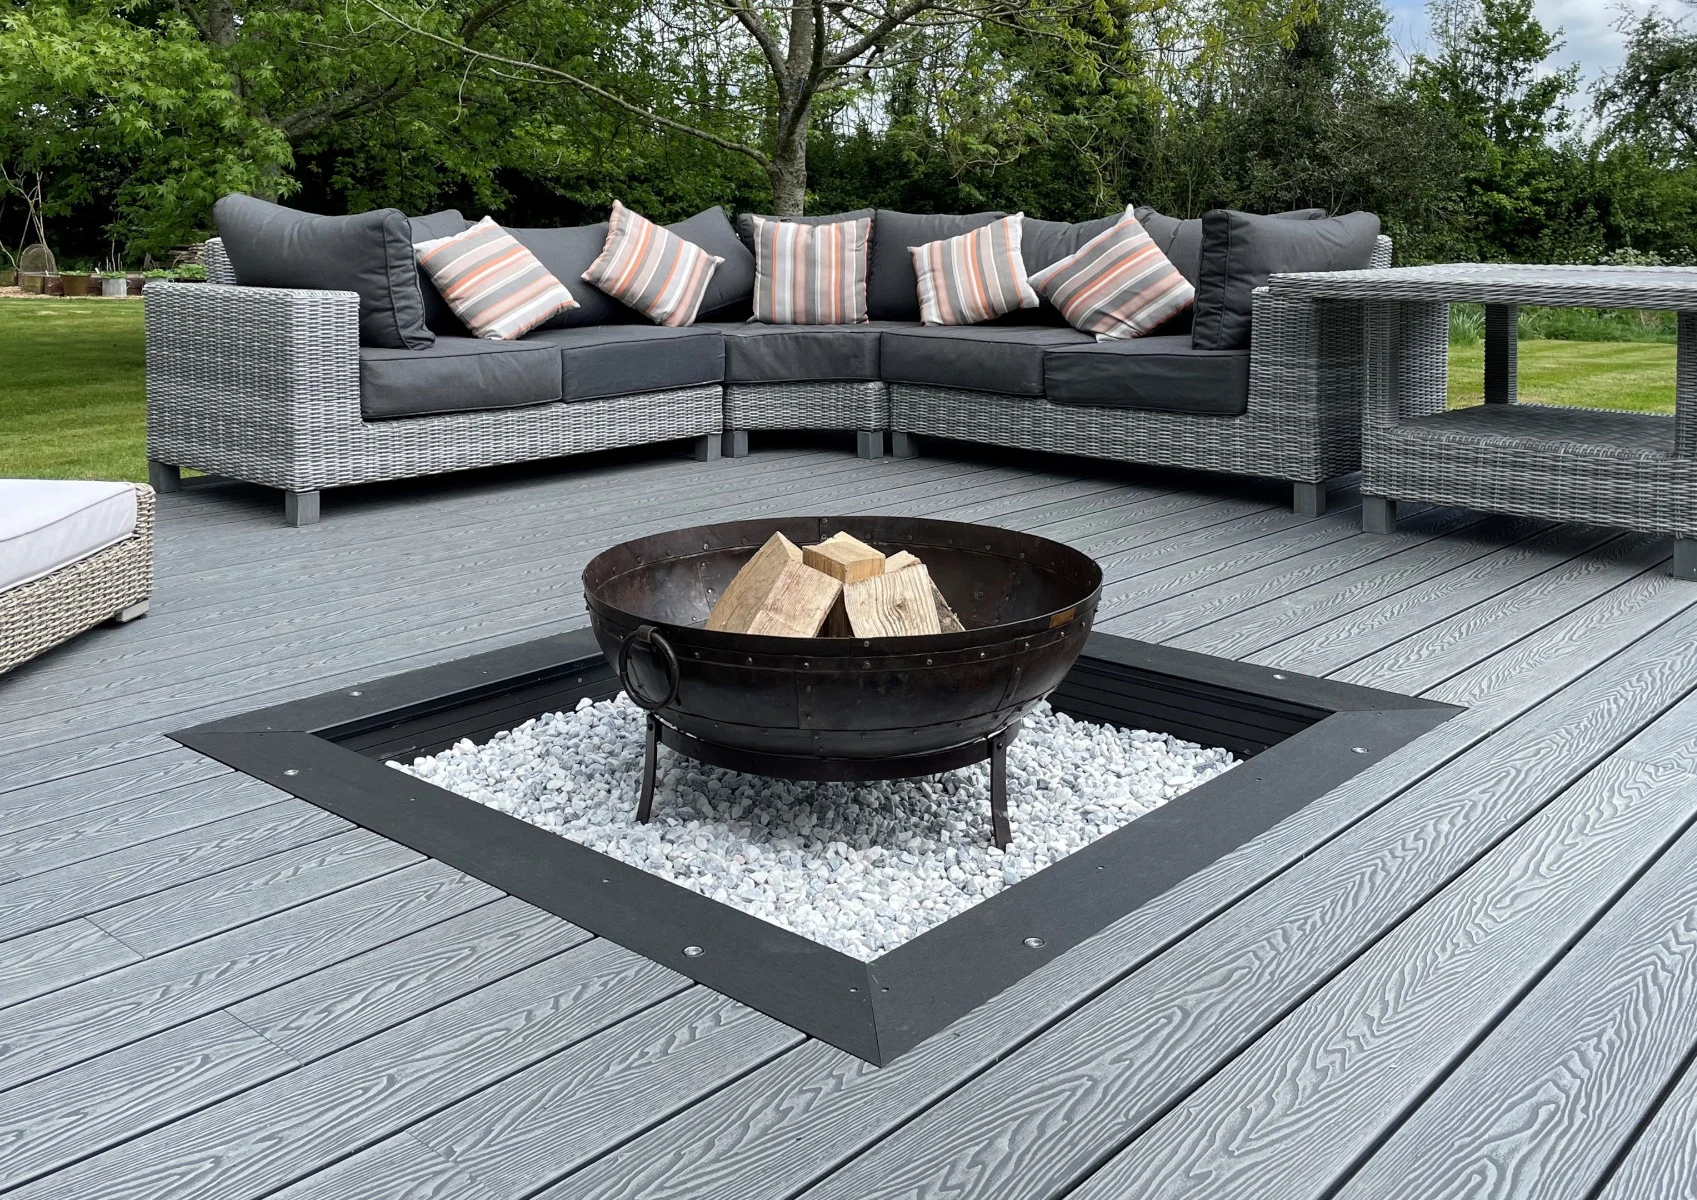
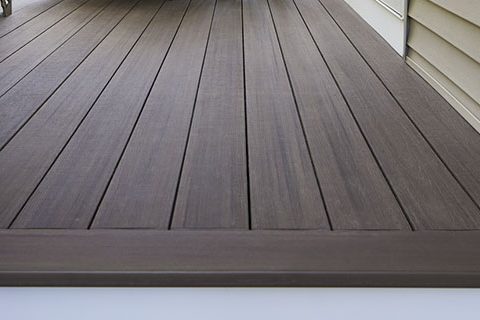
- Composite Deck Boards: Made from a combination of wood fibers and plastic, composite boards are low-maintenance and resistant to rot, mold, and fading.
When making deck boards, you’ll need to decide on the material, the length and width of the boards, and the proper finishing techniques. Below is a step-by-step guide to help you understand the process of making deck boards, from selecting the right wood to finishing the boards for optimal performance.
Materials You’ll Need
To make deck boards, the following materials are essential:
- Lumber or Composite Material (for wooden or composite boards)
- Measuring Tape
- Circular Saw or Table Saw
- Drill and Screws (if you’re installing boards yourself)
- Sandpaper or Orbital Sander (for wood)
- Wood Finish or Stain (for protection)
- Wood Sealant or Deck Sealer
- Protective Equipment (safety goggles, gloves, etc.)
Step-by-Step Guide to Making Deck Boards
Step 1: Choose the Right Material
Choosing the right material for deck boards is critical to the deck’s durability, maintenance, and appearance. Here are some common options:
- Pressure-Treated Lumber: This is the most common and cost-effective option for deck boards. It’s chemically treated to resist rot, insects, and decay. However, it requires regular sealing or staining to maintain its appearance and longevity.
- Cedar or Redwood: These woods are naturally resistant to decay and pests. They have a distinctive, beautiful look but tend to be more expensive than pressure-treated options.
- Composite Boards: Made from recycled wood fibers and plastic, composite decking is durable, low-maintenance, and resistant to fading. It’s an excellent choice for those seeking a long-lasting option without frequent upkeep.
Step 2: Measure and Cut the Deck Boards
Once you’ve chosen the material, you’ll need to measure and cut the boards to fit your deck structure.
- Measure the Length: Determine the length of your deck, and use a measuring tape to cut the boards to the required size. A typical deck board is 5-6 inches wide, but you can choose the width based on your deck’s design.
- Cut the Boards: Use a circular saw or table saw to cut the boards to the desired lengths. If you’re working with wood, take extra care to measure and cut accurately. If you’re using composite material, follow the manufacturer’s instructions for cutting.
Step 3: Sand the Boards (If Using Wood)
If you are using wood deck boards, sanding is an important step to smooth out rough edges, splinters, or rough surfaces. It also prepares the wood for staining and sealing.
- Use an orbital sander with medium to fine grit sandpaper (100-220 grit).
- Sand the edges and surface of each board until smooth.
- If you’re using pressure-treated wood, you may also want to sand off any excess chemicals left from the pressure treatment process.
Step 4: Apply Stain or Sealant (If Using Wood)
Wooden deck boards should be sealed to protect them from the elements. Pressure-treated wood should be allowed to dry out before staining or sealing. If you’re working with cedar or redwood, you may want to stain them to bring out their natural beauty and enhance durability.
- Choose the Right Stain: For wood boards, select an outdoor stain or deck finish that provides UV protection and water resistance.
- Apply the Stain: Use a paintbrush, roller, or sprayer to apply an even coat of stain or finish across the surface and edges of the boards. Be sure to allow each coat to dry fully before applying the next.
- Apply a Sealant: After the stain dries, apply a clear wood sealant to help protect the wood from moisture, which can cause it to warp or rot.
Step 5: Install the Deck Boards
Once the boards are prepared, it’s time to install them onto the deck frame. Here’s how to do it:
- Align the First Board: Begin at one edge of the deck and lay down the first board, ensuring it’s straight and properly aligned with the frame.
- Screw the Boards Into Place: Using a drill and decking screws, secure the board to the frame. Be sure to leave a small gap between boards to allow for expansion due to moisture or temperature changes.
- Continue Installing: Proceed with the rest of the boards, aligning them as you go. If you’re using wood, ensure each board is level, and drive screws at an angle for a secure fit. Composite boards may require special clips or fasteners.
Step 6: Finish and Inspect
After all the boards are installed, perform a final inspection. Check the gaps between boards, ensure they are straight and level, and secure any loose screws. If you used composite boards, check for any uneven areas and adjust accordingly.
For wood decks, once the boards are in place, apply a final coat of protective sealant to help extend the lifespan of your deck.
Final Tips
- Board Spacing: Leave a small gap (about 1/8” to 1/4”) between deck boards to allow for drainage and expansion.
- Maintenance: Wooden deck boards require periodic re-sealing and staining, while composite boards only need occasional cleaning.
- Safety: Always wear protective gear when cutting or sanding wood to avoid injury from flying debris or dust.
Conclusion
Making deck boards requires careful planning, the right materials, and attention to detail. By choosing quality lumber or composite materials, cutting and sanding the boards accurately, and applying the right finishes, you can create a beautiful and durable deck that will last for years. Whether you’re building a brand-new deck or replacing old boards, these steps will guide you through the process and ensure a professional result every time. Happy building!


